
SocialPass — Hosting the Next Generation of Events
Whether it’s a bull market or a bear market, events are one of the main activities that stick around no matter what. As we hop into 2023…
Whether it’s a bull market or a bear market, events are one of the main activities that stick around no matter what. As we hop into 2023 and start a fresh new year, events, conferences, and more are starting to pop up everywhere. ETHDenver, NFTNYC, and NFT Paris, are just a few of the biggest Web3 events right that are right around the corner, but do you know what would make those events shine even brighter? Make way for SocialPass.
SocialPass is an all-new, easy-to-use Web3 event ticketing platform, letting event organizers host their events using NFT ownership (with fiat and crypto payments also on the way!). SocialPass was built with ease-of-use in mind first, making it the simplest and fastest Web3 ticketing platform on the market. Just how easy is it to hop on and start making events? We’re glad you asked! Let’s hop in to a quick tutorial to see how you can start quickly hosting your events in style.
Setting up an Account
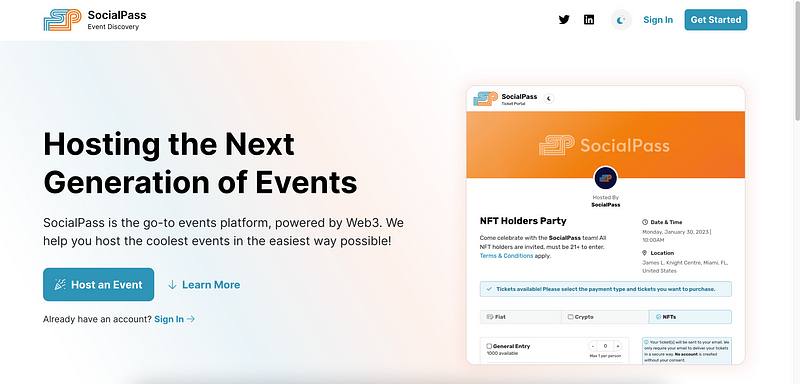
When first hopping into socialpass.io, you’ll want to get your account set up. Navigate your eyes to the top right of the page and click on the “Get Started” button.
After inserting your information, you’ll get an email to verify your account which will redirect you to the login page. From here, your account will be setup, and you’ll be able to login and hop into SocialPass!
Creating Your Team
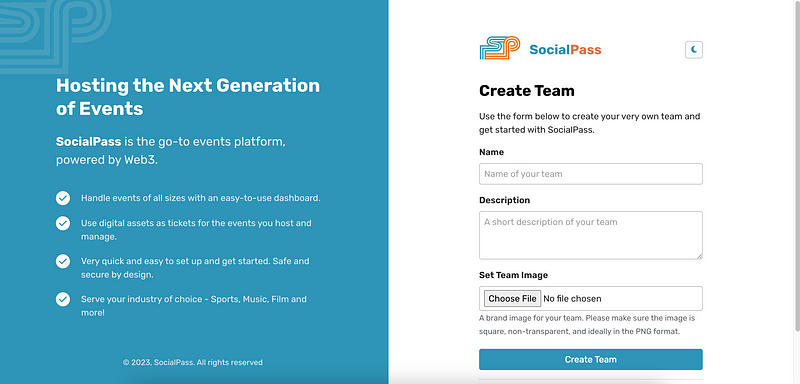
We made it super easy to have your entire team hop into SocialPass with you so only one person doesn’t have to do all of the event hosting by themselves. Immediately after logging in for the first time, you’ll be prompted to create your team with a name, description, and finally choosing your team image.
After you have your team information filled out and ready to go, let’s hop into the dashboard!
Dashboard
The dashboard is the main page you’ll come across after logging into SocialPass. Here you will see the “Events Manager” and “Team” tabs.
From the “Team” tab, you can edit any information within your team incase you made a name change or fancied up your bio. You can also manage all of your members, so you can start inviting (or booting out) all of the other members to hop into the official team with you.

Now that the basics are out of the way, let’s start hosting some events!
Events Manager
After you’ve handled everything you need to within your team tab, it’s time to start making an event. Navigate back up to the “Events Manager” tab and click either the “+” symbol or the “Create” button to get started.
As soon as you hop into the event creation, you’ll notice three tabs at the top: Information, Ticket Tiers, and Go live. We’re starting at the information portion first. This is where you’ll input everything related to the event like the title, who is organizing, the location, the date and time, and more. Below you will see a short snippet showing all of the fields for creating an event.

After entering in all of the event information, it’s time to get the party started! Or almost time… only a few more things we gotta do first.
Onto the tickets!
Ticket Tiers
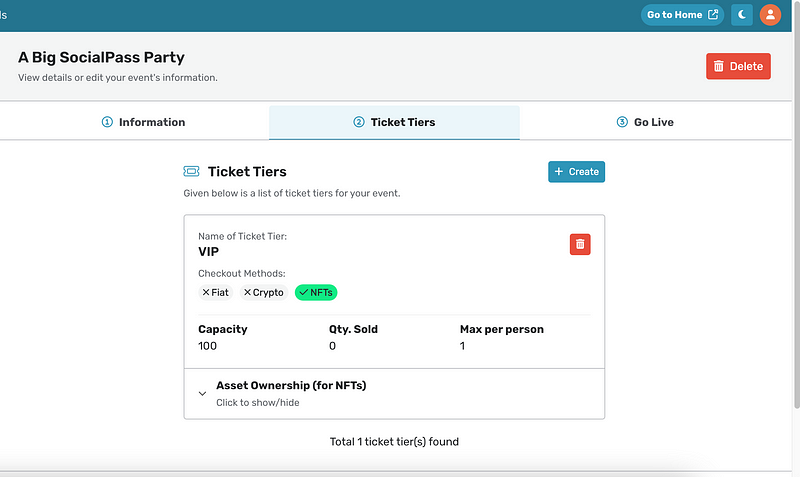
Once you have all of the event information plugged in, it’s time to create some tickets. “Ticket Tiers” are what we refer to as different forms of tickets for the event. As of now, SocialPass supports NFT ownership ticketing, but in the future SocialPass will also support fiat and crypto payments all in one convenient place.
Now, let’s start getting some NFT tickets going. Below you will see a short snippet showing all of the fields for creating your first ticket tier.

After you have all of your information filled out regarding the NFT being used to receive tickets, you’ll click“Save Ticket Tier,” and you’ll know have an entry method into your awesome event!
Note: Events hosted on SocialPass support multiple ticket tiers meaning you can have multiple different NFTs represented within one event.
Going Live
You’ve made it to the final step, hooray! Now it’s time to get the event going. After you’ve made sure you have all the information entered correctly, it’s time to click “Go Live!”
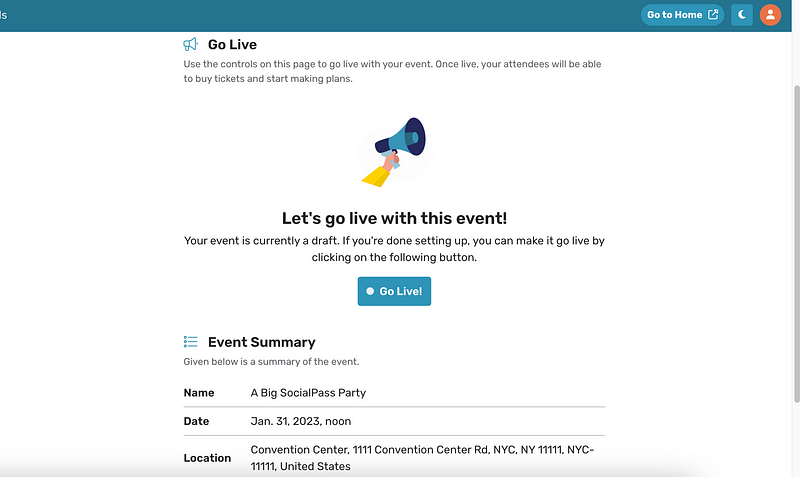
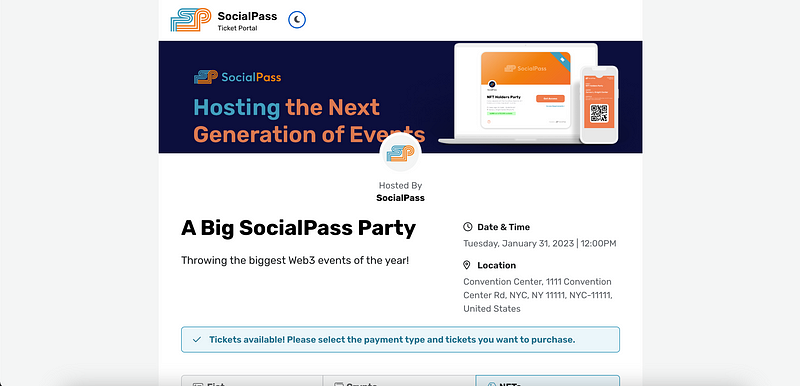
Once live, you can navigate back to the “Events Manager” tab to see your hosted event. From there, you can make edits to the event, check in on some stats related to the event, and see the event’s hosted public page.
And that’s it!
You now have your very own Web3 event hosted using SocialPass. While this is a detailed breakdown pertaining all of the areas of account, team, and event creation, creating an event is super easy and only takes a few minutes.
We have a ton more features on the way like the before-mentioned fiat and crypto payments, so make sure to keep your eyes tuned!