
SocialPass — Preparing for an Event (Mobile Version)
SocialPass is an all-new, easy-to-use Web3 event ticketing platform, letting event organizers host their events using NFT ownership (with…
SocialPass is an all-new, easy-to-use Web3 event ticketing platform, letting event organizers host their events using NFT ownership (with fiat and crypto payments also on the way!). SocialPass was built with ease-of-use in mind first, making it the simplest and fastest Web3 ticketing platform on the market, especially when it comes to attending an event.
In this article, we want to cover a brief walkthrough on verifying an NFT and obtaining a ticket using SocialPass on mobile.
Step 1 — Selecting Your Ticket Tier
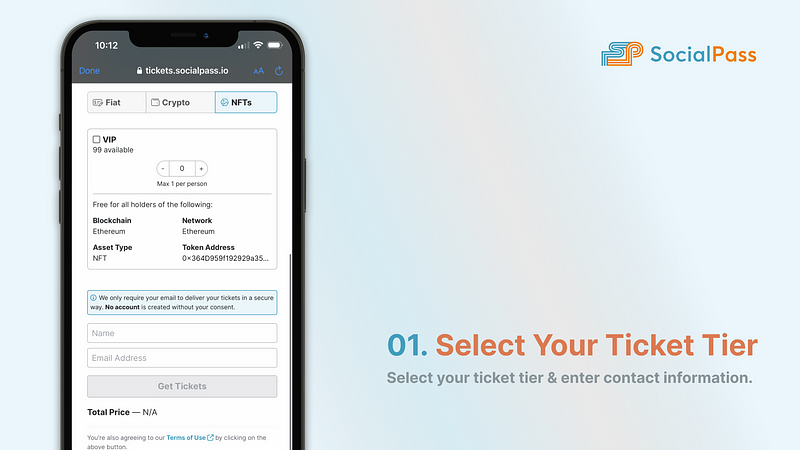
Navigate to and open the specific event link provided by your event host. This is the link that the event organizer will share either in a social media post, an email, or another platform of their choice.
After opening the event link, you will be navigated to a customer ticket checkout portal where you will begin the flow of obtaining your ticket to the event. You will be presented with options of ticket types to choose from based on the NFTs you hold (Note: Make sure to check what ticket tier requires which NFT(s) to ensure you receive the correct ticket for the NFT(s) you are holding).
After selecting your ticket type that you are wanting to receive, you will need to input your name and email to ensure that your ticket is delivered to you correctly.
Note: If you are acquiring a ticket that allows for a +1 guest (or more), please ensure that your guest is present with you at the time of getting scanned into the event. As of now, only one ticket will be issued.
Step 2 — Connecting Your Wallet
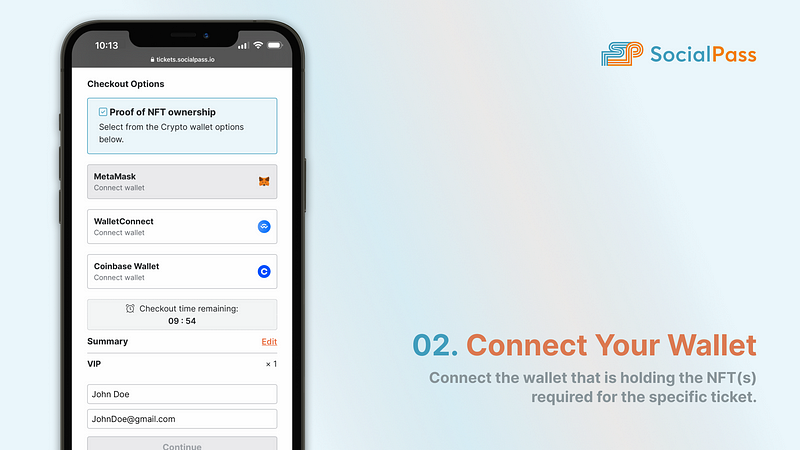
After selecting your ticket tier, you will be navigated to the next screen where you will select the wallet that is holding the NFT(s) required for the specific ticket. Currently, SocialPass supports MetaMask, WalletConnect, and Coinbase Wallet as the options to provide NFT verification.
Note: If you are using a browser not within located within a wallet app then using WalletConnect or Coinbase Wallet will provide the best results. If you need to you MetaMask on mobile, navigate to the MetaMask app and load the event link within MetaMask’s in-app browser.
After selecting your wallet type, you will be prompted to connect your wallet to SocialPass to be able to verify asset ownership (Note: Wallet connection and signatures are for asset ownership verification ONLY; SocialPass will never handle a trade or transaction).
Step 3 — Proceed to Verification
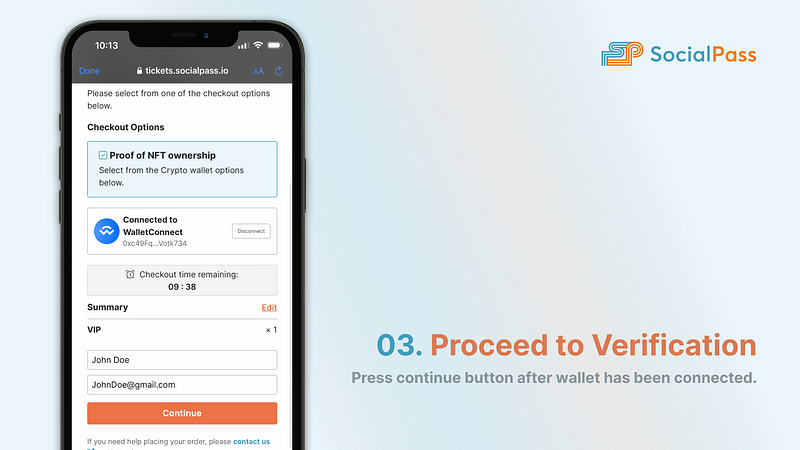
After connecting your wallet, you will be prompted to hit the “Continue” button to proceed to the asset verification portion. Upon continuing, you will be greeted with a loading screen showing that SocialPass is scanning your wallet for the correct asset to receive the ticket for the event.
Step 4 — Success!
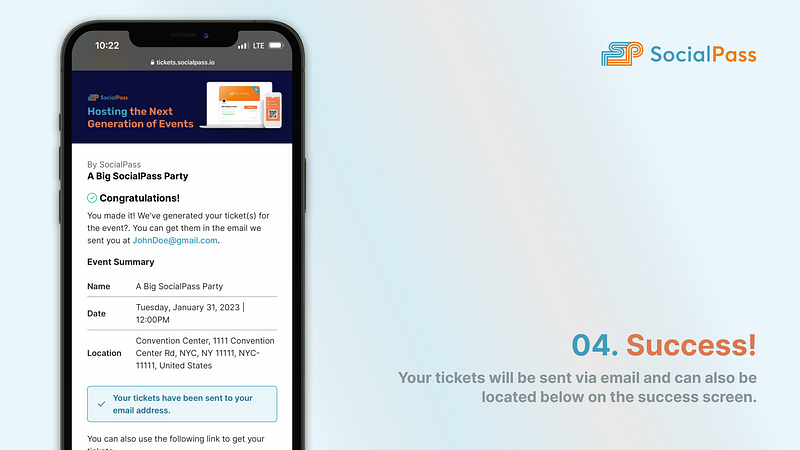
After handling the connection of your wallet and continuing through the asset ownership verification portion, you will be greeted with a lovely “Congratulations!” The email address you provided will now have an email with a link to your event ticket (Note: If you do not receive your ticket within a short time frame, make sure to use the “contact us” link noted at the bottom of the page and provide the ID number).
In the case you are not greeted with a successful asset ownership verification screen, ensure you have connected the correct wallet that is holding the NFT(s) you are trying to verify ownership of. If any more issues arise, please reach out to us in our Discord here.
Step 5 — Download Your Tickets
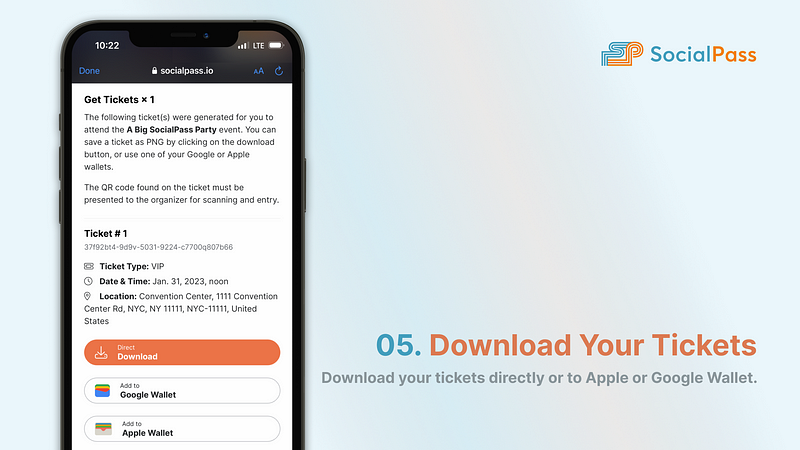
After verifying ownership of the NFT(s), you will receive an email that has a link with your very own event ticket. From this link, you will be able to download your event ticket to your mobile device for easy access at the event doors. Your event ticket will look similar to the one shown below and will be scanned in by the event staff with the SocialPass event ticket scanner.

We hope this brief walkthrough on the ticket checkout flow for mobile helps you prepare for all events hosted through SocialPass!